Supporting iPhone 6/6 Plus Native Resolutions: The Basics
Ever since I got the new iPhone 6, I’ve been silently cursing the applications that haven’t yet properly updated their apps for the new screen sizes. The zoomed iPhone 5s display looks really terrible, folks! So, I’m going to give you a five minute tutorial to update your applications. Assuming, of course, that you updated your app last year for iOS 7. I’m also assuming that you have a reasonable understanding of how to navigate Xcode, so this post is a bit light on screenshots.
Step 0: Upgrade to Xcode 6.
I’ll wait. This doesn’t count as part of the five minutes.
Step 1: Add a Launch Screen File in Project Settings
This one is actually pretty easy. Click on your project on the left of Xcode, and select the proper project under “TARGETS”. It’ll probably be auto-selected. Go to the General tab (again, probably already selected) and scroll down to the “App Icons and Launch Images” section. For the Launch Screen File, select your storyboard file. Easy.
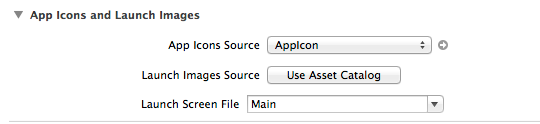
Set up Launch Screen File.
Step 2: Update all of your constraints
Alright, so this will take a bit longer. Basically, add constraints to your layouts so that it can stretch and still keep your controls where you want them. Set up constraints for the items on the left based on the left layout bound, and do the same for the items on the right based on the right layout bound. Auto-layout is your friend here. Pay attention to any red or yellow warning indicators that appear in your Document Outline, and fix them/add other constraints where necessary. One of the things that you’ll notice here is that in Xcode 6, the default left/right bounds are to “Margin”. This is something that was introduced in iOS 8, so if you’re still supporting iOS 7, as you should be, this will mess up your layout on those devices. The easiest way to avoid using margins in your constraints is to press the Option key, which changes “Leading Edge to Container Margin” to “Leading Edge to Container”, which was the default behavior in previous versions.
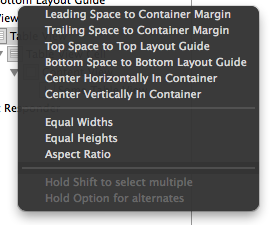
Constraints setup with Container Margins.
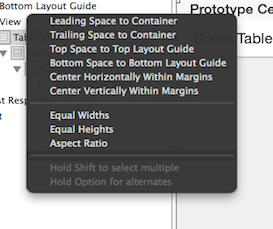
Constraints setup after pressing Option key.
Step 2.1: A “Gotcha” on Table Views
Sometimes, you just can’t get the table view to start at the top of it’s container. Assuming that you have created your layout correctly, and set the TableView’s top to the Top Layout Guide, it’s because there’s an “Inset” set up. Click on the View Controller in the Document Outline, and uncheck “Adjust Scroll View Insets”.
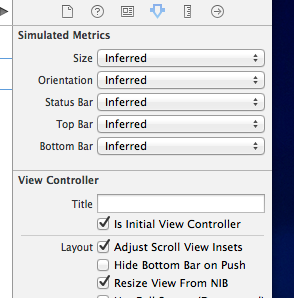
TableView insets.
Step 3: Add some new image assets
The iPhone 6 Plus’s display requires @3x image assets. If you want to truly support that device, you need to add @3x versions of your images and icons. @2x images will still work, but they’re obviously scaled up to the @3x size, which can look bad depending on the image.
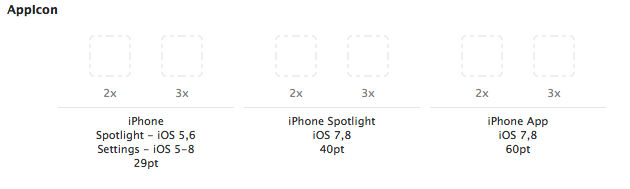
Application icons.
That’s all. You’re kind of ready for the new iPhones!